Percona Server for MongoDB is mostly the same as MongoDB server that you can install from the Ubuntu repository but percona mongodb comes with few additional features like pluggable storage engine API, hot backup and Percona’s memory engine.

We can install it easily by adding the percona’s repository to ubuntu or by downloading the source and compiling it ourselves. For this guide, I will be using the first method because that makes upgrading very easy later on.
For this guide, I will be using a freshly created 1GB VPS from Vultr hosted in Singapore.
After logging into the server via SSH go through these steps using sudo if you are not logged in as root.
Step 1: Add Percona’s repository:
To add their repository percona has created a .deb file that we need to download and install. Let’s start by downloading the package with this command:
wget https://repo.percona.com/apt/percona-release_latest.$(lsb_release -sc)_all.deb
Now install this package with this command:
dpkg -i percona-release_latest.$(lsb_release -sc)_all.deb
This will add the repository and other requirements.
Step 2: Enable the repository:
We need to enable this freshly added repository. To do so run this command:
percona-release enable psmdb-42 release
4.2 is the latest version at the time of writing and we are enabling repository for this version by the above command.
Step 3: Install Percona MongoDB
Update the local package information first
apt update
Now run this to install
apt install percona-server-mongodb
This will install the percona mongodb on your server and start it.
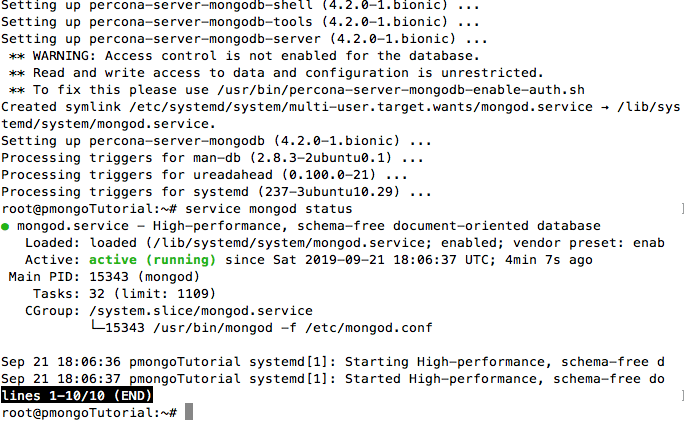
Check the status of mongodb by running this command:
service mongod status
You will see something like this

If the server is not running you can use this command to start
service mongod start
To stop the server you can use
service mongod stop
and to restart mongodb server
service mongod restart
If you need to change the configuration MongoDB configuration file is located at /etc/mongod.conf
